We just finished up our Robotics unit in Digital Media Design last week (on to 3D Printing now). I have been reflecting on how the Robotics unit has been successful and what needs revision. The last design challenge my students took on was having to design the fastest robot dragster (controlled by bluetooth) possible with their LEGO Mindstorms EV3 kits, leveraging gear ratio (you may have read about it in an earlier post).
This challenge, along with the ARTbot and Sumobot challenges were so successful in that the competition aspect really propelled student teams to explore other design solutions on their own, in order to beat the other guy. I am quickly realizing that the sooner I get to the competitions, the more engaged my students become and the deeper the learning that occurs. I simply need to weave in mini-clinics on gear ratio, algorithms, linkages, mechanisms, etc. as we go. I try to avoid a full-on lecture whenever possible.
Maybe most importantly, I have found that modeling the build for a particular challenge is incredibly important. Not only do students get to see me try and fail (as part of the iterative design process), it also builds rapport with students and allows them to "reverse engineer" and improve in their own way some of the solutions I explore. And of course, they love it when they beat me, which instills an enormous sense of pride in them (and me, too).
The act of teaching Robotics itself is subject to the design process. One of these days, I'll get it right. :)
Here's a quick vid I shot about my own Robo-Dragster. Usually, I use Sony Vegas to create videos, but lately I've been using WeVideo lately to produce my videos. It's web-based and there's a free version, if you're interested. I paid $12.00 (I think) to get a little more monthly space and the ability to export 720 without a watermark. So far, I like WeVideo. Its interface is easy to navigate, I like the templated graphics and the bank of decent license-free music beds. It also seamlessly exports to Youtube,Vimeo, etc.
I am applying to become a Microsoft Innovative Educator Expert. What's that, you say? MIE Experts are advocates for using Microsoft technology to improve student learning. I have to say, being an Educational Technology teacher, I've been impressed with Microsoft lately - Hololens and many of the new features of Office come to mind.
I use a number of technologies in my daily life as a teacher. Most recently, Microsoft helped me deliver a unit on Robotics from start to finish. First, I initiated and guided the unit through the use of Mix, which is a great platform for creating dynamic lessons with interactivity. Next, my students wrote their "pseudocode" (robotic algorithms written in plain language) in Word, then they shared it with each other and me via OneDrive. They also used Sway to document the design process associated with their robots, creating effective and engaging presentations.
As a last step, students were required to design and 3D print a custom piece to be added to their robots (either functional or ornamental). We used Microsoft's 3D Model Repair service to ensure that our prints were error (and frustration) free.
If I have the opportunity to become a Microsoft Innovative Educator Expert, I will be able to tap into even more great Microsoft resources and connect with other like-minded MIE's who have a passion for educational technology like me. Fingers crossed!
This school year has been incredibly busy so far. I can't believe its almost November already. In the past two months, we have essentially built our new "makerspace" and I have been busy learning all of our new toys (Orion Delta CNC 3D Printer, Roland Stika vinyl cutter, Little Bits, Arduinos, etc) and finding ways to incorporate them in a challenging (yet fun) manner into our new program.
Students assembling our new standing desks (this is a makerspace, after all)
Most of our efforts in Digital Media Design (DMD) - we're working on a new name for this course as it doesn't quite fit what is now taking place in the room - have been focused on robotics. Namely, EV3 Mindstorms robotics. This is now my 3rd year working with this platform and I absolutely love it. I have worked with VEX, Fischertechnik and Tetrix robotics kits and while they all have their merits, I feel that LEGO EV3 is superior, due to ease of use, flexibility, robust design, and endless possibilities for application across disciplines and for scaling.
Our latest projects in DMD involve students working in design teams (usually 2-3 people) to take on design challenges or "briefs." I have included a video below that quickly showcases a couple that have been very successful: the ARTBot and Robo-Dragsters.
The ARTbots are tasked with creating abstract art (in the vein of Jackson Pollock). They must raise and lower a drawing implement (or two) using a mechanism of the designers' choosing. Some utilized levers, some utilized rack and pinions, for example. They must also use sensors to avoid collision with the frame and operate autonomously. The requires students knowing how to program using loops and sensors to accomplish the task.
Lastly, our Robo-Dragsters challenge design teams to leverage gear ratio to make their bots the fastest. Teams experiment with different combinations of gears to find the right balance of speed and torque. Rather than have the bots operate autonomously, students control their dragsters via smartphone using the EV3 Mindstorms App, which is free. We then have a showdown in the hallway, which we all love. Design teams compete in heats to win the Spartan Summer Nationals (Nitro burning funny cars this Sunday, Sunday, Sunday!!!). The next time I run this challenge, students will be required to have their dragsters run autonomously, using sensors to both avoid collision and measure overall speed.
Hi Everyone! As usual, I've had quite a bit on my plate and have neglected this blog. I am vowing to change all of that this year and will be updating on a regular basis.
So, what have I been up to? Tons. Since I wrote here last (a whole year ago?!?), my life has been consumed by all things Ed Tech. I have been delivering and attending professional development workshops, teaching private STEAM (Science, Technology, Engineering, Art & Math) classes to students of all ages, building robots, geeking out at ISTE 2015, and creating a "Makerspace"-style program at the high school where I teach. Oh, and I also produced a music video with some incredibly talented students.
During the last school year at Ocean Township High School, I was teaching both Digital Photography and another course I developed called Digital Media Design (DMD). DMD covered quite a bit in its scope - 3D printing, robotics, graphic design, social media, digital storytelling and more - a veritable smorgasbord of hands-on, project-based learning. Since its initial offering as a course two years ago, it has (thankfully) grown in popularity among students. So much so, that at the end of the 2014-2015 school year, I was asked to expand DMD's offerings and move it into a new physical space. What had been our school's wood shop since the school's opening in the 1960's was to become our new "Makerspace" or "FabLab," depending on the terminology of any given week. Whatever it was to be called, it would be a space where Art and Technology merge.
With this mission and a budget in place, my colleague Tom (who would ultimately be teaching DMD as well) and I got to work researching just what this "Maker Movement" was all about. Over the years, I have been to Maker Faire in Queens, NY (a Woodstock for geeks and techies) and have also spent time at the SI Makerspace in Staten Island, where everyone from welders to home brewers can rent space to make whatever their hearts desire (and with help from the very capable staffers). Our new research would take us deeper - to three sites: New Milford High School, Wall Township High School, and JC FabLab. Three glimpses into the Maker movement in public schools and another look at its commercial execution.
At Wall Township High School, we saw a state-of-the-art space, which incorporated aspects of woodworking, 3D printing, and prototyping. The big takeaway for us was that the woodworking power tools (mostly desktop) were in the same space as the other technologies. We had concerns about this and the associated dust it would generate. They addressed this issue via a powerful exhaust system, keeping the work space virtually dust-free. See images below:
Hand tool closet
Table top power tools with exhaust system
One of the high-end 3D printers
Their Makerbot
Next, we paid a visit to Laura Fleming at New Milford High School. Laura is a media specialist who decided to re-imagine her school's library space as a student-driven tinkering lab of sorts. While she doesn't teach a specific "maker" class, the space is open to students all day, and they may use the space to explore electronics, LEGOs, computer hardware, audio/video production, 3D printing, game design and more. See images below:
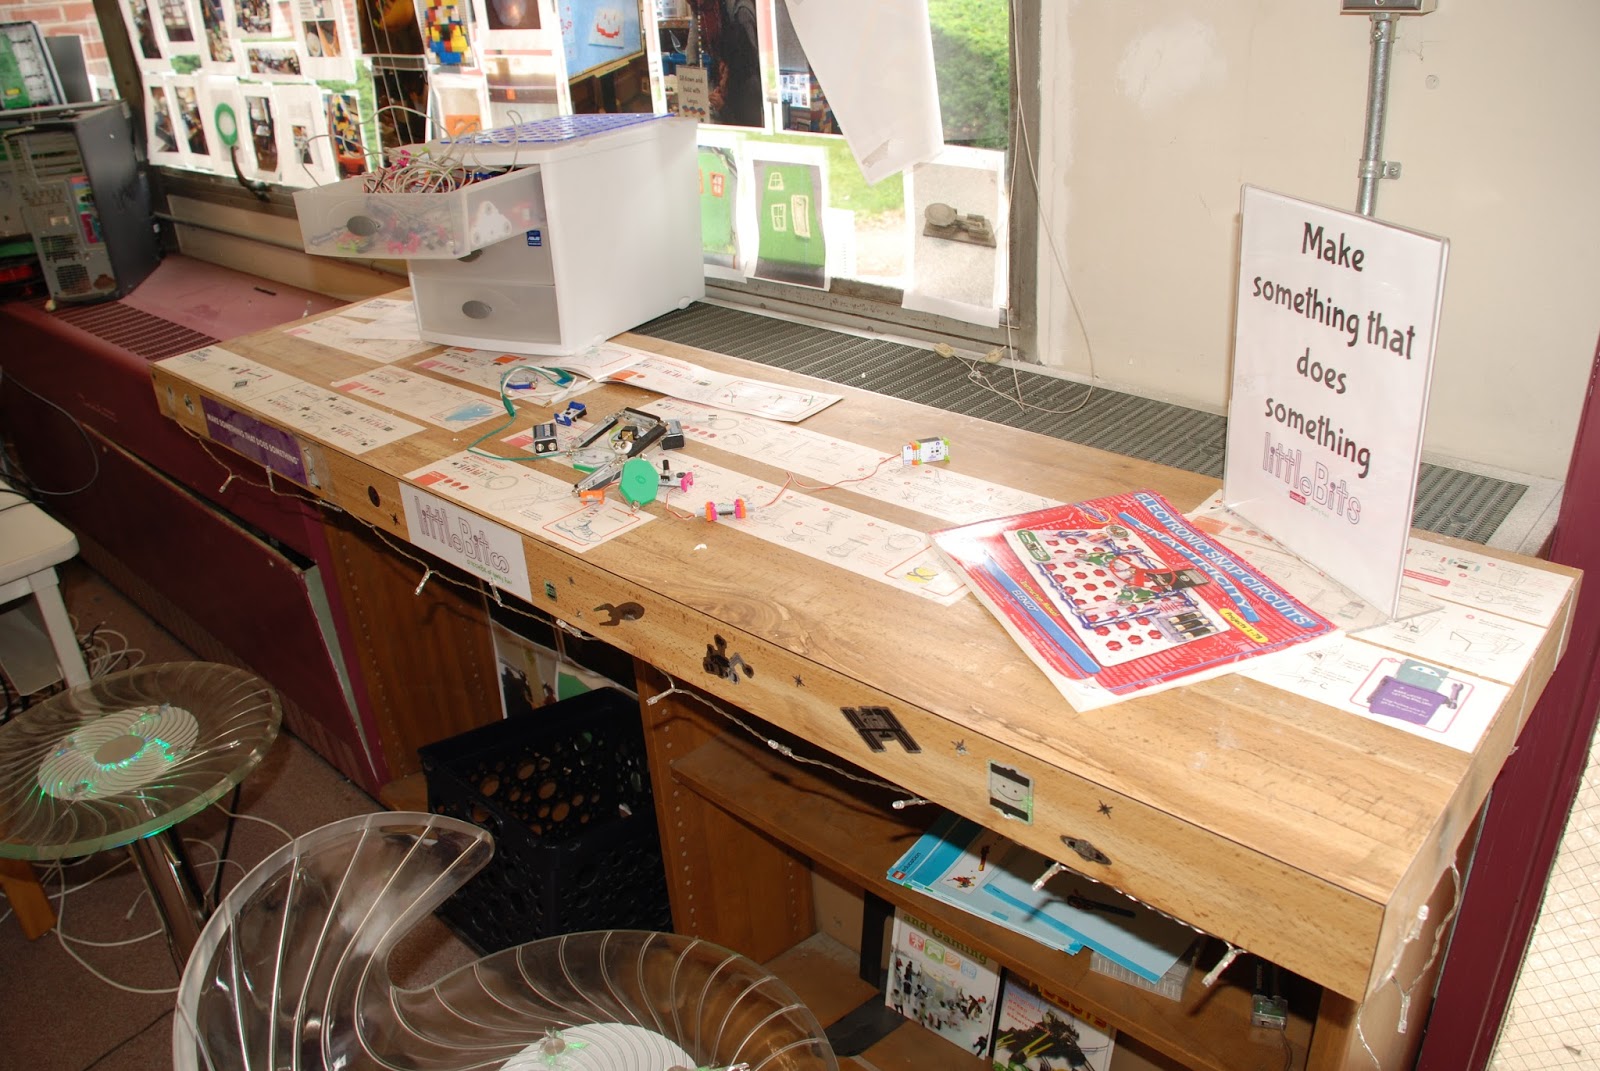
Little Bits experimentation station
Laura at the LEGO station
Students at the PC hardware station (love the re-purposed Mac bench seats!)
We then took a quick spin over to Jersey City to visit the JC FabLab (short for Jersey City Fabrication Lab). Situated in an old industrial space, this is a commercial facility that allows members access to woodworking tools, a vinyl cutter, 3D printer, an Epilog laser, silk screening, and a CNC router, among other things. See images below:
Some of the creations made at JC FabLab
The CNC router
3D printer
Epilog laser
This is where you can find JC FabLab
Our visits definitely got the wheels turning. So many variations on this new approach to applied technology. Now we faced big questions: What would our new space need to look like? What aspects of these technologies would we incorporate? How would it all fit together in a cohesive, engaging curriculum that would provide students with tangible, real-world skills? How do we integrate our existing woods program?
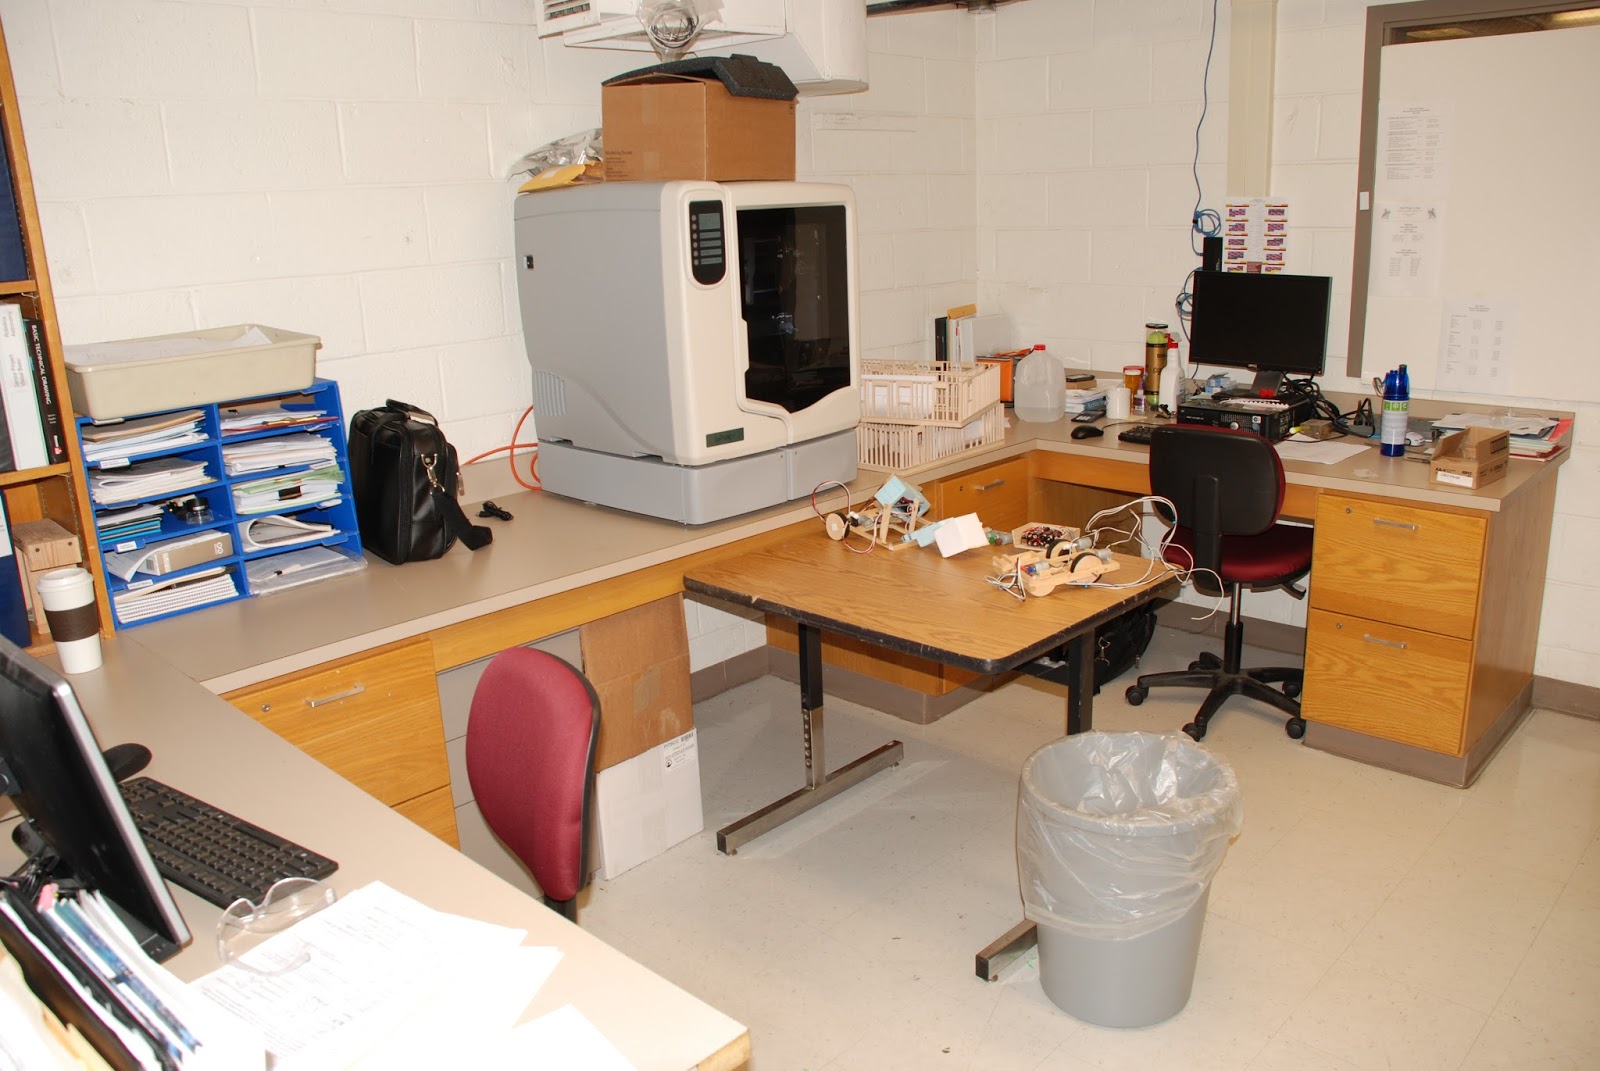
Here's our space as it looked in June, 2015:
I will post pics shortly of the space now as it is still taking shape. Regarding curriculum, we will be focusing on 3D printing, Robotics (via LEGO EV3 and Tetrix), prototyping using Arduinos, Makey Makeys and more, and some basic electronics by way of Little Bits, with some podcasting thrown in (if we have time). As the program evolves over this school year (and beyond), the plan is to fold back in aspects of woodworking and metal working.
Very exciting times, indeed!
Rather than ramble on even more, I'll close by mentioning the music video I created with the students of a program called SPEAK. This is my 5th year collaborating with these amazing kids (and their amazing facilitators). The program focuses on an anti-drug and anti-drinking message, so with that in mind, the students wrote lyrics to and performed an original song entitled, "Be A Role Model." The students also served as audio engineers and producers and music video directors. We hope you enjoy it!
The Summer of LEGO continued on well after the construction of Mondrian City. As my son and I sat across from each other at our dining room table with a pile of LEGOs between us, other creations sprang to life. With very little guidance, he was able to create a number of masterpieces. Here are some of my son's beautiful creations:
While he opted for volume, creating a veritable army of vehicles, dwellings and abstractions, I opted to design and build a single vehicle. I always tell my students that whenever you are creating art or designing something, you push the art and the art pushes you. As I started to combine LEGO pieces from the hodge-podge of kits in front of us without any real objective, a truck started to take shape. One thing I really enjoy doing with LEGOs now as an adult is taking the parts from "prescriptive" LEGO sets (the sets that direct you how to build something specific, with step-by-step instructions) and re-purposing them along with traditional bricks, Technics parts, and elements of EV3 Mindstorms.
I call the truck I created "The Beast," as it's a pretty cumbersome monstrosity of a vehicle. I utilized the brick controller and two large motors from an EV3 kit to get it moving. In order to control it, I downloaded a free app called LEGO Robot Commander to my iPad, switched on the brick's Bluetooth and synced them up. Since I own a GoPro, I also created a custom LEGO mount and placed it on the roof of "The Beast," so I could capture a POV shot.
The beginnings of "The Beast"
The completed vehicle.
Side view.
Taking a peek under the hood where the brick lives.
Custom GoPro mount.
GoPro camera on custom LEGO mount.
The GoPro on top of "The Beast"
A closeup of the GoPro on top.
Admittedly, it's not the best design. It would have been better to create a 3-wheel vehicle, using the omni-directional pinball that comes with the EV3 kit. This would have provided better turning, since all of the wheels are fixed and turns are a little clumsy. I really just wanted to see if I could get the Bluetooth control breathing and get the GoPro on board. If I had more time, I would have incorporated the medium motor and created a turntable for the GoPro to swivel it like a tank turret. Next time!
Check out the video below (kinda low quality as I shot it on my iPhone):
Thanks for checking out my blog! Hope you found it entertaining and/or inspiring. Go build something cool!
I always kick off a summer with the intention of getting so many things done, a massive to-do list compiled and awaiting me just as school wraps up. Among the items on my list was this blog and to update it with more frequency. So much for that. This summer, with its incredible fall-like weather proved too tempting to resist, so much traveling and beach going ensued.
However, I did manage to squeeze in quite a few opportunities for creative exploration and professional development, largely via the use of LEGOs.
At home, prior to the start of summer, my six year old son and I used his enormous cache of LEGOs to create a couple of fun (and quite time-consuming, as it turned out) projects. Our first undertaking was "Mondrian City," named as such due to its color scheme of predominantly primary-colored bricks. What started out as the two of us building a single structure on a building plate turned into a massive streetscape. This construction continued through the summer.
A beautiful mess.
Under construction.
Coming together.
View from the rooftop (who knew Jack Sparrow had a penthouse apartment in Mondrian City?).
Being a photographer, I then decided to take this a step further by staging a narrative scene in our city. My son and I built a LEGO robot that would visit Mondrian City, with the inhabitants flowing into the street and staring in wonder.
Robot visitor (friend or foe?)
View of the robot visitor from above.
By this point, Mondrian City had become an obsession. I began to understand what Richard Dreyfuss' character felt like in Close Encounters as he dealt with the compulsion to construct a Devil's Tower in his living room.
Next, I purchased some inexpensive micro LED lights from Amazon and placed them throughout the city. I set up an orange paper background, meant to suggest the sky at dusk. I also set up a couple strobes (flash units) to compliment the scene.
Almost ready for the big shoot.
The micro LEDs.
Positioning the camera at the end of the street at a low angle, I shot a number of frames in total darkness, the shutter open for 30 seconds at a time. The initial pop of a strobe - at the other end of the block, behind the orange backdrop, pointed at the camera - at the beginning of the exposure provided a huge burst of light behind the robot, while the remainder of the exposure was illuminated via micro LED (some in the buildings, some waved about the scene by me and my son in a "light painting" fashion. Here are a couple of the strongest images:
In general, I'm pretty satisfied with the outcome. I did want to include some sort of "smoke" to create a little atmosphere, but I just didn't get around to it. Maybe next time...
I will be posting more about the Summer of LEGO shortly, including our trip to Brick Fest, attending an EV3 Robotics workshop at Carnegie Mellon University and another original project we call "The Beast," a vehicle designed using traditional LEGOs, Technics parts and the brick and large motors from an EV3 kit. All controlled with the Robot Commander app on my iPad. Cool stuff. Stay tuned...
Hi Everyone! It's been quite a while since I posted. I originally intended to get back on the horse when summer break began, but my brain was telling me otherwise. So, I have spent much of the last month relaxing and traveling with my family, which was much needed after a very hectic and demanding school year. My brain is finally back online and I am ready to be creative again!
However, during my downtime, I did have the opportunity to work again with the wonderful students and advisers at the SPEAK program in Eatontown, NJ. This summer camp instills values and the importance of community service in young people, all while providing them with fun and entertaining activities that draw upon their creativity.
As in previous years, I met with the students twice - on Monday, we met for 4 hours and again on Thursday. On Monday, students brainstormed and wrote lyrics pertaining to the theme of drug resistance. With the remainder of the time, they performed and engineered a recording session, utilizing Apple's Garageband (like big-time producers!). When we met again on Thursday, students worked with a choreographer (the amazing Julius), putting together some great moves. Once this session ended, students directed and produced a music video, using a green screen (chroma key) and shooting with an iPad2.
The final result is a catchy, pop/hip-hop track entitled, "Stay Strong." We hope you enjoy it. If you do, please share it with your friends!
Thanks to Lori, Dawn, Jill, Kim, Lindsay, Mr. G and Officer Henley for the opportunity to work with you incredible program again. It gets better each time! The students are fortunate to have good people like you in their lives.
"Stay Strong"
Some behind the scenes shots from the making of "Stay Strong":
Writing a masterpiece.
Dropping some rhymes.
Ready for her close-up.
A brief pause in the action.
Some of the SPEAK crew.
Practicing some dance moves.
Directing the music video.
Next week, I'll be attending a robotics camp for educators, which I'm very excited about. Stay tuned for some LEGO robot awesomeness!
Love it. So true. I have so much to say about this, but I'll keep it brief(ish). As you know, I LOVE LEGOS. However, in addition to the gender-specific marketing of their toys which is problematic (I understand they have to make a profit), the bigger issue for me is the nature of the "prescriptive" kits they now sell. Meaning, when you buy LEGOS now, you buy a kit with propriety Star Wars (or Ninjago, etc.) pieces and a set of instructions, which forces a child (or adult) to bury their face in a manual and follow the rules (specifically what the theme of the LEGO movie is against, BTW). While the outcome may be gratifying, the process is not tapping into what is truly valuable about LEGOS - creative problem solving (after all, isn't that what all of life is, really?). I wish LEGO would raise the profile of gender-neutral brick sets with random, mixed parts (not just Duplo) so that imaginations can run wild again. Lastly, speaking as an educator of high school students, my female students ROCK during our LEGO robotics unit. There is no gender ability gap at all in my opinion, so we just need to reverse the damage that decades of careless marketing has done.
After you read the article, let me know what you think! I would love to hear from any of you out there that share the same passion for technology, art, design and education!
The hits just keep on comin'! My students continue to impress and amaze me with the images they create. This "Greatest Clicks" installment features studio lighting techniques known as Overlit White and Edge Lighting as well as other treatments known as Double Exposure (some Adobe Photoshop post production trickery) and Light Painting (which is probably the most popular project among my students). Enjoy!
It's now becoming tradition. As part of my 9 week Digital Photography course at Ocean Township High School, students must ask one of their teachers to serve as their model for a photo session. This helps to familiarize students with studio procedures, lighting plots, model release forms and working with clients in general. It also helps to build morale in school as students collaborate with their teachers and portray them in a positive light (pun intended).
Below is a video I put together to showcase some of the amazing things my Digital Media Design students at OTHS create. The first half of the video highlights their work with Lego Mindstorms EV3 robotics kits and the second half captures the process of designing objects using Sketchup and printing them via our Makerbot Replicator 2. I always tell my students that they live in exponential times and I think they're finally understanding what I mean. It's a brave new world, folks.
This new year has brought many new challenges, namely re-designing my Digital Photography class for block scheduling and to maximize use of our new studio space. Having 82 minute periods is a dream come true, as students can dive into sustained learning when I introduce concepts and techniques.
The videos below showcases some of the strongest shots created in our studio to date. These are our "Greatest Clicks" series. Students explored lighting set ups known as "Rembrandt" and "Butterfly" lighting, utilizing light modifiers such as soft boxes, beauty dishes, show cards and 10 degree honeycomb grids and much more. I am so impressed by how they handle themselves both behind and in front of the camera.
Greatest Clicks 09.27.13
Light Painting
Students had a ton of fun experimenting with long shutter times and a variety of light painting tools. I think this is the highlight (no pun intended) of the course for them.
Model Teacher Project
For this assignment, my OTHS Digital Photography students were required to ask a faculty or staff member to serve as a model for their studio photography work. The clients signed model releases, discussed the aspects of the shoot (wardrobe, props, background, lighting, poses, etc.) before and during the shoot. Upon completion, students were required to lightly re-touch the 5 best shots from the session and share them with their models via Google Drive (along with a thank you note, of course). This video showcases some of the best shots from Marking Period 1 of 2013-2014.
So much to write about since I was last here. I can't believe we are half way through the school year already! Both of my courses, Digital Media Design (DMD) and Digital Photography have been progressing nicely. DMD has taken more of my attention this year since it is an entirely new course to our school (and to me).
While DMD addresses a number of digital technologies, its centerpieces are the LEGO EV3 Mindstorms robotics classroom kits (and design software) and our Makerbot Replicator 2 3-D printer. So far, we have barely scratched the surface of what both of these tools have to offer.
In this blog entry, I'll be describing our experiences to date with the Makerbot. While it is a fascinating piece of gear and truly represents what manufacturing will be in the near future, in it's current iteration, the Makerbot Replicator 2 is not a walk in the park. What I mean to say is that it is not as "plug and play" as it's marketing materials would have you believe. I do think I have finally cracked the code and have recently been achieving consistent output from it. I'll cut to the chase and give you my recipe for success in case you are considering a Makerbot for your classroom or home. After much research and many failed builds, I find that this is the way to go:
1. Design 3D models using Sketchup Make (this is the free, highly functional version). Since you just spent about $2500.00 of your (or your department's) money on the bot and a few spools of PLA filament (this is the raw plastic stock for the printer, which costs about $45.00/spool), you're probably out of cash and can't afford AutoDesk or a similar, expensive 3D software suite. And Sketchup comes with tons of support materials and videos. Check out this link to get started.
From SketchUp to physical object. Awesome!
2. Make sure Sketchup has an extension called Sketchup STL installed. An extension just extends the functionality of the software. In this case, it will allow you and your students to export finished designs from Sketchup in a format that Makerware (software that drives the Makerbot) and 3D printers understand, a .stl (stereolithography) file.
3. When designing models for 3D printing in Sketchup, choose the "Product and Woodworking (Millimeters)" template when Sketchup starts up.
4. Once the design has been created in Sketchup, go to File>Export STL and save this to a file of your choosing (either on a network or local drive). I also require that my students create a 2D thumbnail image for quick viewing as well (rotated to provide an isometric view). This can be created by going to File>Export>2D Graphic. From here, you can save the image as a .jpeg (in the same folder as the .stl).
5. You're not quite ready to print yet. The exported .stl file may have errors (that you can't see) that will trip up your 3D printer and cause the build to fail (incredibly frustrating). I HIGHLY recommend sending your .stl file to cloud.netfabb.com for FREE analysis and repair. Simply visit the website, choose your file to be uploaded, enter your email address, choose "mm" as the unit of measure, click the "agree" check box for terms of use and click "submit to cloud." You should receive very shortly and email from cloud.netfabb.com with a link to your fixed file. Here, you can preview it in 3D and download the print-ready file. Once downloaded, you will notice that "fixed.stl" has now been added to your original file name. This is helpful - you don't want to print from the original .stl file.
What a failed build looks like. Ugh.
6. Your Makerbot should be positioned away from drafty doorways in a temperature controlled environment (to avoid uneven cooling and curling of PLA plastic on build plate - this does happen). I have found that placing an incandescent light (150W or so) in front of the Makerbot raises the temp enough to provide the best conditions (I think the Replicator 2X has a heated build plate, but I'm not sure). This also allows for quick and easy release of your model from the build plate when completed.
Our Makerbot kept warm by a 150W incandescant light. Just like an Easy Bake Oven!
Note: Some people cover the build plate with either Kapton tape or painter’s masking tape and use a burnishing tool to remove any air bubbles to ensure proper release of PLA once dry. I find that by wiping down the bare build plate with isopropyl alcohol swabs works best for proper release.
7. While you can print via SD card on the Makerbot (it ships with a supplied card in its card reader port, including 4 designs), I recommend connecting your PC directly to the Makerbot's USB port (in back of machine, below PLA spool) and printing via Makerware. Once you are connected, power up the Makerbot.
8. Run build plate leveling script from Makerbot menu, using a Post-it note (instead of supplied business card) to ensure that the build plate is level and the extruder head is at the proper height. There should be very slight friction when the Post-It is dragged under the extruder head's leveling points.
9. Open Makerware on your PC and ensure that "background services" are running. This means that your computer is now communicating with the Makerbot.
10. Click on the "Add" button on top of the Makerware interface. Find your "fixed.stl" file and choose it. Position and scale it on the build platform using the tools on the left side of the screen.
11. Once the model is in position and at the size you desire, click on "Make" at the top of the screen. When the dialogue box pops up, make sure that the "make it now" button is not greyed-out. If it is, you may have to restart background services. If it is available, you're in business. I find that by leaving the other settings at the default standards, you will see great results. If your models are more complex, you may wish to explore rafts and supports (which you're need to file/sand off your model once it's finished).
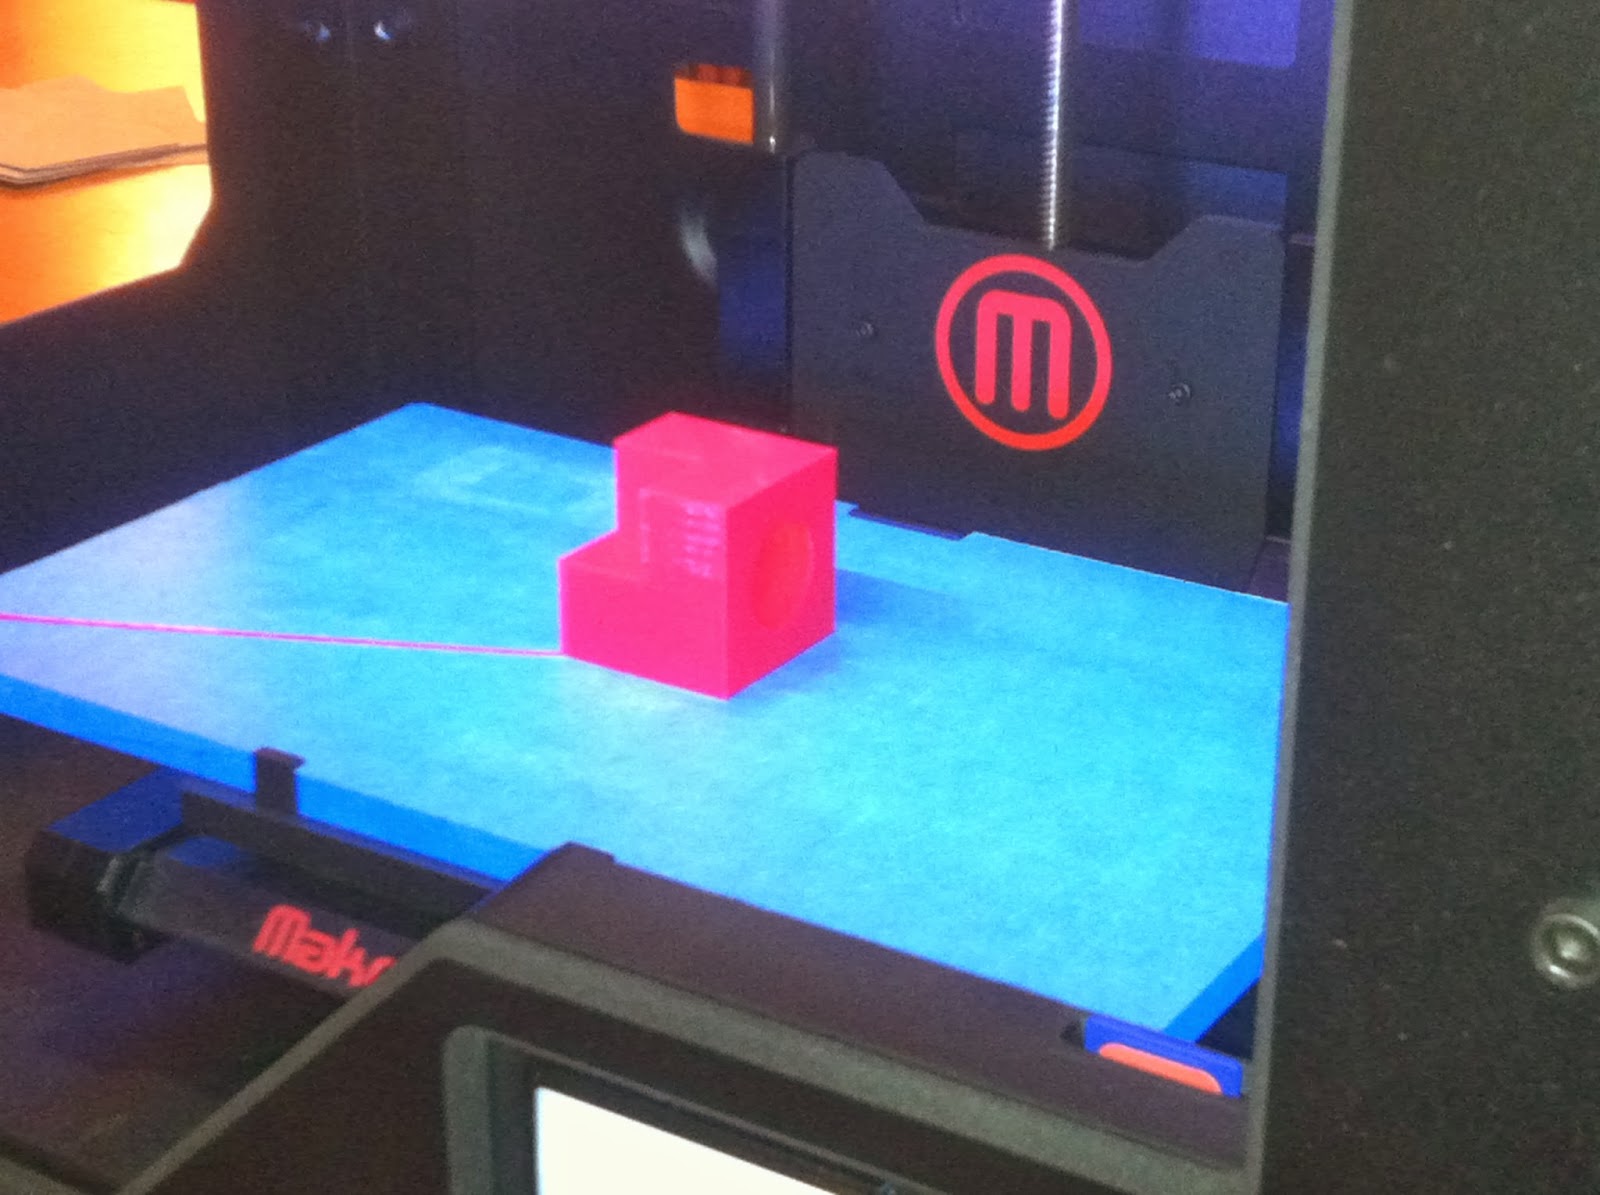
12. Click "Export" on the bottom right of the dialog box and you should be good to go. The software will begin "slicing" the model into layers and the extruder head should beging warming up (until it reaches about 230 degrees C). The build should start momentarily. The builds my students create currently are designed to fit inside a 40mm cubic volume (meaning 40 mm along the longest dimension) and flat on one surface (to ensure they sit on the build plate). These small models genrally take about 45-60 min to print.
The Makerbot in action (video to be posted shortly)
Great success!
And that's it. It took me a lot of trials and tribulations, researching forums and blogs and frustration before I arrived at what I detailed above. Hopefully this was helpful to you other 3D Printing newbies out there. Now that I have cracked the code, my students and I are having a blast with our Makerbot. Good luck and feel free to contact me with any questions! Happy printing!